Nothing Secures Better Than Zmodo. Find Easy Steps To Zmodo Camera Setup.
Nothing Secures Better than zmodo. Find easy login steps to manage camera setup.
Zmodo Camera Setup - Simplest & Easiest Procedure
Zmodo, provides top-quality security Cameras and surveillance systems for residential and commercial use. With an extensive range of innovative products and features, keeping an eye on what matters you the most and make it more accessible. The wireless Zmodo Camera setup is designed in a way which is easy to install and use, with intuitive apps and clear instructions to help you set them up quickly. Whether you need a single Zmodo camera setup to keep an eye on your front door or a complete surveillance system to protect your business, Zmodo has all the necessary solutions. You can connect to our support team for the hassle-free Zmodo camera setup.
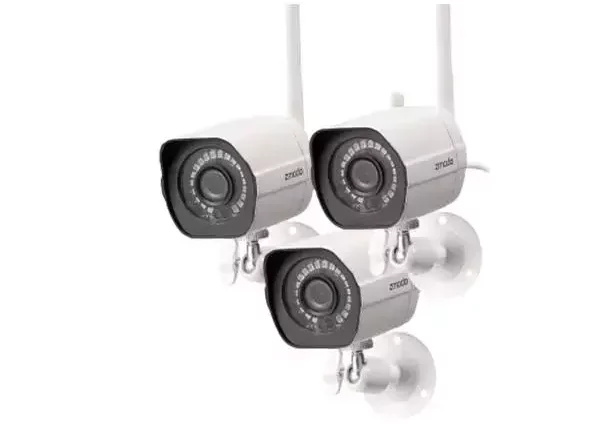
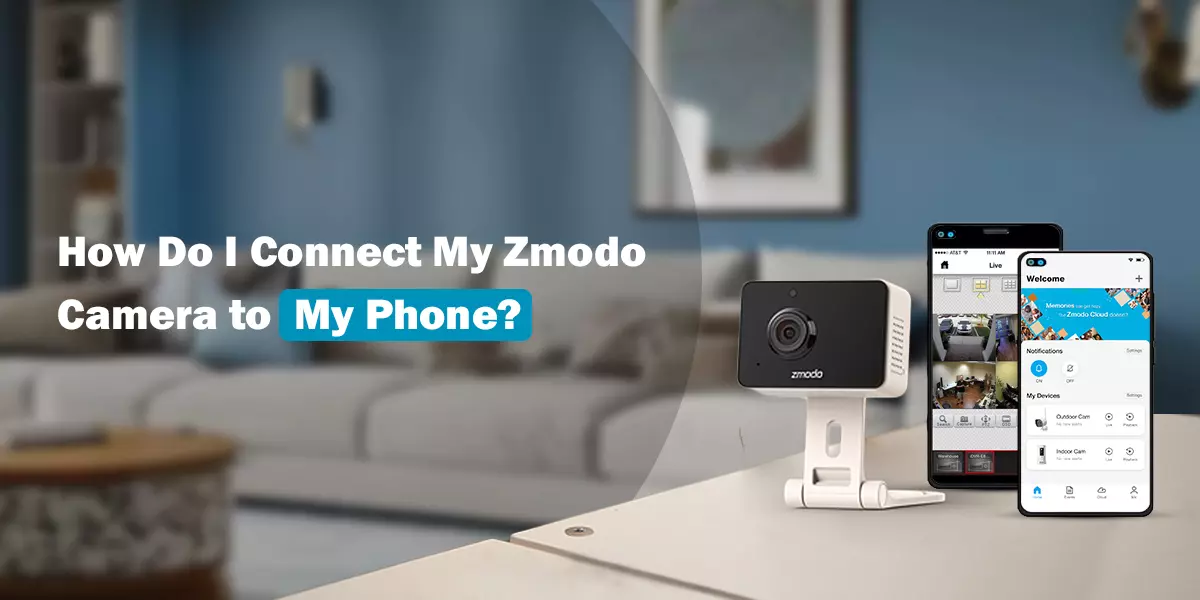
Zmodo Wireless Camera Setup
To set up your Zmodo wireless camera, you’ll need the camera itself, a power adapter and a cable to plug it in, a router and internet connection to connect it and a smartphone or tablet with the Zmodo app installed. Once you have these items, you can follow the Zmodo camera wifi setup steps to set up your camera and start using it to monitor your home or business.
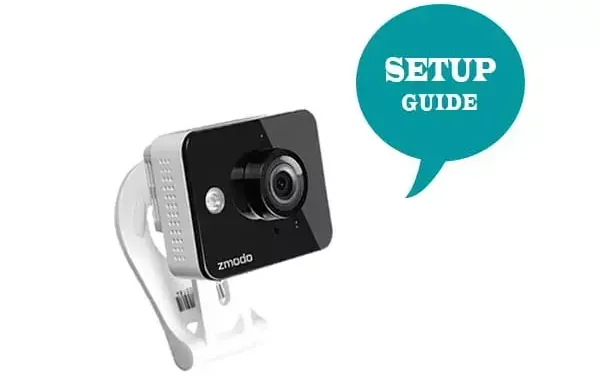
Zmodo Camera Setup Using the Zmodo App (For Wi-Fi Setup)
- Transfer and fix the Zmodo app.
- Navigate to the App Store (iOS) or Google Play (Android).
- Search for “Zmodo” and download the app.
- Install the app into your mobile device.
- Create or log in to your Zmodo account.
- Open the Zmodo application.
- Form a new account or use your prevailing credentials.
- Add a new device.
- Tap the app’s “+” icon or “Add Device” button.
- Use the included adapter to plug your Zmodo camera into a power outlet.
- Wait for the camera to turn on and the status light to blink indicating that it is ready for setup.

- The app will prompt you to connect your phone to the camera’s temporary Wi-Fi network which typically begins with “ZMD_SAP” or something similar.
- join phone network.
- Return to the Zmodo application.
- The software will transfer these settings to the camera.
- Name your device and complete the setup.
- When the camera connects to your home Wi-Fi network you will be requested to name it.
- Tap “Finish” to finish the setup.
- After you’ve set up your camera check the live feed to make sure everything is operating properly.
- If required adjust the camera position to ensure optimal viewing.
- If required adjust the camera position to ensure optimal viewing.
- The Zmodo app allows you to see live footage modify settings and receive alerts.
Zmodo Camera Setup Using Zink Setup (Alternative Setup Method)

- Download the Zmodo App.
- Install via the App Store.
- Unveil the app and sign in or generate an account.
- Tap “+” or “Add Device” to pick your camera model.
- Select “Zink” setup in the app
- Turn on Camera Setup.
- Press “+” on the camera.
- Select your Wi-Fi and enter the password into the app.
- Name your camera.
- View the live feed and change the position as needed.
Zmodo Camera Setup Using a Wired Setup (For Wired Cameras)
- Make sure you have your Zmodo wired camera a power adapter and the necessary cords.
- Choose an suitable spot to mount your camera guaranteeing that it has a clear view
- To install the camera firmly use screws and anchors.
- Plug in the power adapter
- Connect the power cable to the camera.
- Attach the camera to router or network
- Start a consistent connection amongst the camera and your network device.
- Search for “Zmodo” and transfer the app.
- Fix and launch the app.
- Create or Log in to your Zmodo account.
- To start a innovative account or log in using your prevailing credentials basically trail the stimuluses.
- Tap the app’s “+” icon or “Add Device” button.
- Choose your camera model
- Follow the app’s prompts to complete the setup which may entail scanning a QR code with the camera or entering device-specific data.
- Once connected give your camera a name (for example “Backyard”) and make any necessary adjustments to its settings.
- Check the live stream on the Zmodo app to authorize that the camera is working appropriately.
- Adjust the camera angle as needed to maximize the view.
- Following these steps will allow you to correctly set up your Zmodo wired camera and easily monitor your chosen area using the Zmodo app.
How to execute Zmodo camera setup using Website?
To set up your Zmodo devices using the Zmodo website, you have to follow the given instructions:
- To sign in to Zmodo, go to the site and look for the sign-in option in the upper right-hand corner.
- Go to the Zmodo website and search for the sign-in or sign-up box when you get there. It will allow you to sign in.
- Please submit your email account and your password in the text boxes below to access your Zmodo accounts. There, you will get the access to live video feeds, to on and off the power devices according to predetermined schedules, and fine- tune the various settings for each unit.
- The Zmodo dashboard is where you will end up after logging in. You may add a new device to your account by selecting the Add Device option and following the on-screen instructions.
Using the Zmodo website, you can easily set up and control your Zmodo devices from your computer or laptop.
Why won’t my Zmodo camera connect to WiFi?
If you can’t get Zmodo camera to connect to your wireless network, you may try some basic steps:
Let’s say you’ve given these troubleshooting methods a go, but for some reason, your camera still won’t connect to the Zmodo camera offline on your Wi-Fi network. Contacting support team could be necessary for such an instance.
 STEP -1Make sure that the router is operational and set up properly. Ensure all cables are securely placed into their designated slots, and your router is connected to the internet.
- STEP -2Check that your camera is configured correctly. Ensure the camera is plugged in and the power light is on.
 STEP -3Check the distance between the camera and the router. If the camera is too far from the router, it may not be able to connect to the Wi-Fi network. If the camera still doesn't work, try positioning it closer to the router.
- STEP -4Power cycling the camera may resolve connection issues that have arisen. Unplugging the camera from the power socket, waiting a few seconds and then plugging it back may help resolve the issue.
- STEP -5Check for any updates. If the camera has any accessible updates, you should make sure to install these, as they may include remedies for problems relating to the connection that you have been experiencing.


Troubleshooting Zmodo Camera Setup Issues
Troubleshooting typical issues with Zmodo cameras requires several actions to ensure seamless operation:
Check The Power and Connections:
- Make that the camera is attached into a functional power source and that all cables are properly connected.
- Check that the power adapter is operating properly.
Verify Network Connectivity:
- Make sure your camera is connected to a solid Wi-Fi network or if wired directly to the router via Ethernet cable.
- Squared the Wi-Fi signal forte if you’re operating a wireless linking.
Restart The Camera and App:
- Power cycle the camera.
- To refresh the connection force close and then reopen the Zmodo app.
Reset Camera:
- Use the reset button to perform a reset on the camera.
- Reconfigure the camera by following the setup instructions in the Zmodo app.
Update The Firmware and App:
- Ensure that your Zmodo camera has the most recent firmware version.
- Look for updates in the Zmodo app’s settings.
- Update the Zmodo app to the most recent version available from the App Store (iOS) or Google Play (Android).
Examine The Camera’s Location and Surroundings.
- To minimize interference set the camera within Wi-Fi range and with a clean line of sight.
- Avoid putting the camera near electronic equipment that could cause signal interference.
Check The Internet Linking:
- Check that your internet linking is stable and effective appropriately.
- To check connectivity test it with other devices connected to the network.
FAQs
- Be sure that the router is active and set up correctly. Make sure that all of the wires are firmly hooked to your router and that it is linked to the internet.
- Check that your camera is configured correctly. Ensure the camera is plugged in and the power light is on.
- Check the distance between the camera and the router. If the camera is too far away from the router, it may not be able to connect to the Wi-Fi network.
- Reset Zmodo camera. In the event of a connection failure, rebooting the camera may be of assistance. Then try to disconnect and connect it again.
- Check for any updates. You should upgrade the camera software if available, as this might resolve any connection problems that you might have been experiencing while doing the process of resetting the Zmodo camera.
- Ensure that your camera is on and set up correctly.
- Bring up the Zmodo app on your mobile device.
- Select the camera you want to link with the new Wi-Fi network by tapping on it.
- Tap on the button labeled Device Settings.
- After clicking on Wi-Fi Settings, choose “Change” from the drop-down menu.
- You may easily link your camera to your home’s new Wi-Fi network by following the on-screen prompts. In most cases, this will require choosing the desired Wi-Fi network from a list and inputting the network password.
- Once the camera is connected to the new Wi-Fi network, tap on” Save” to apply the changes. Zmodo cameras may be quickly and simply linked to a different wireless network by following these instructions. Contact our support team if you encounter any problems or need more assistance.
DISCLAIMER
This is a recognized independent company that enables its users to discover useful information. The content of the services that is image and brand name are only for the reference purpose. This means no other brand can use it unless they obtain the permission as all the rights are reserved by the website owner.
USEFUL LINKS
RECENT POST